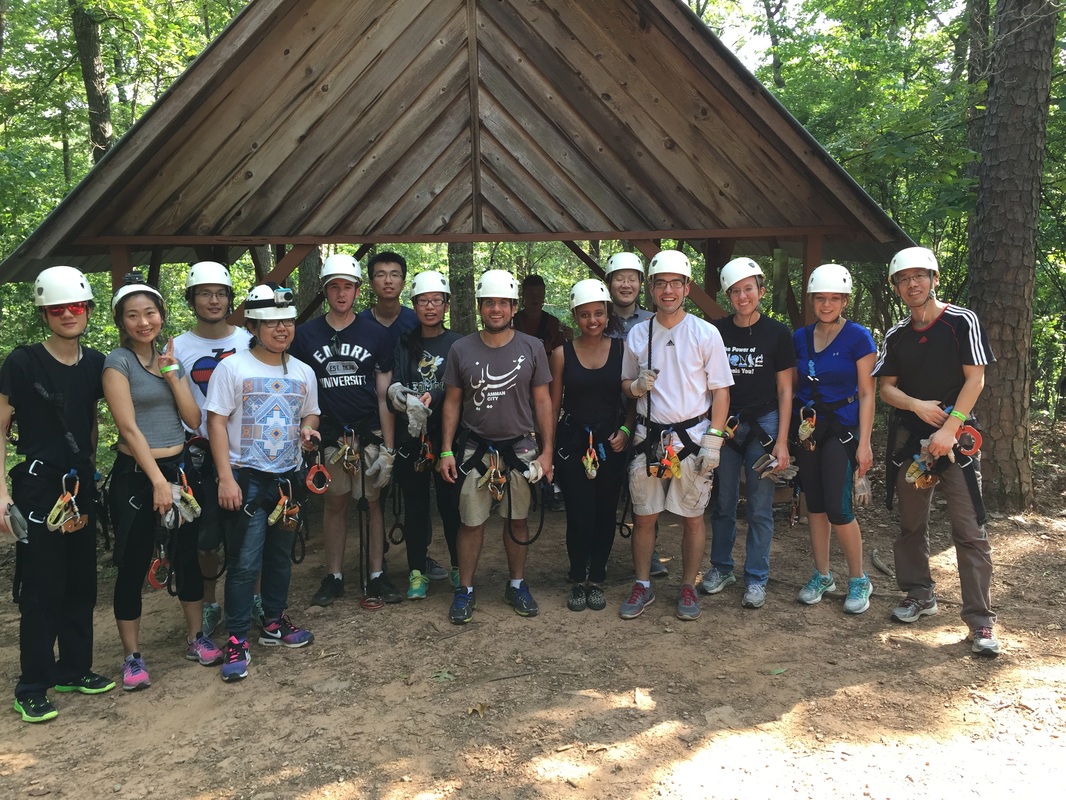
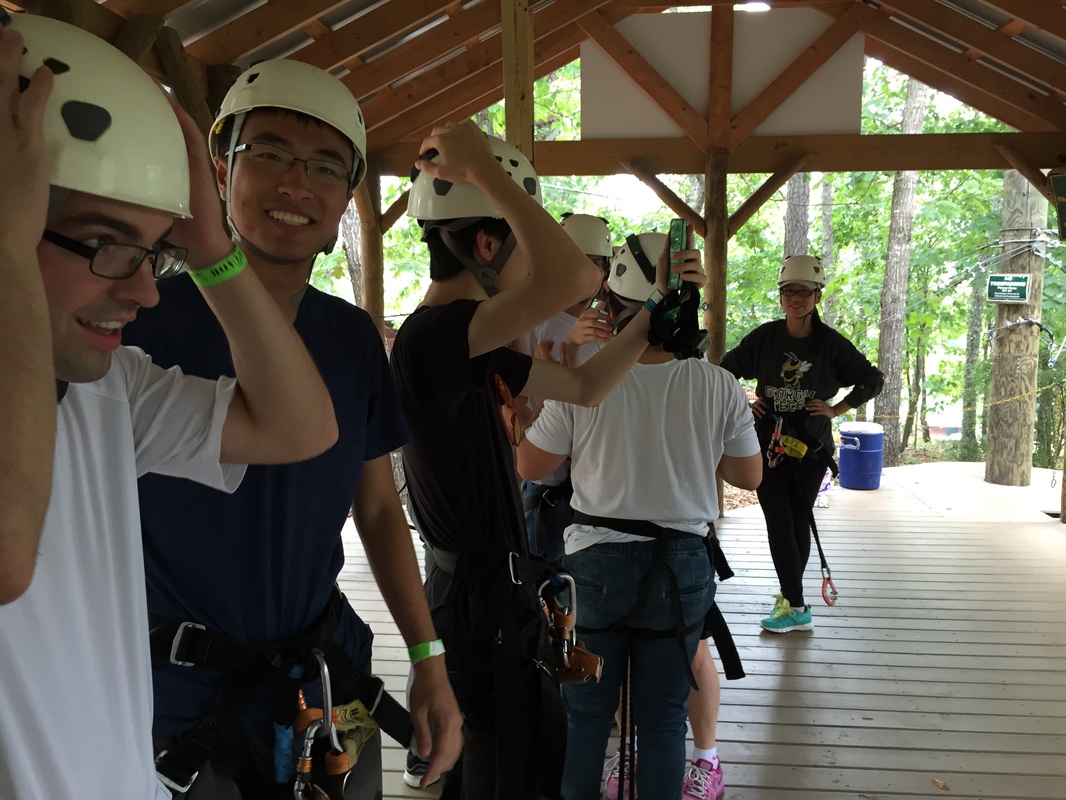
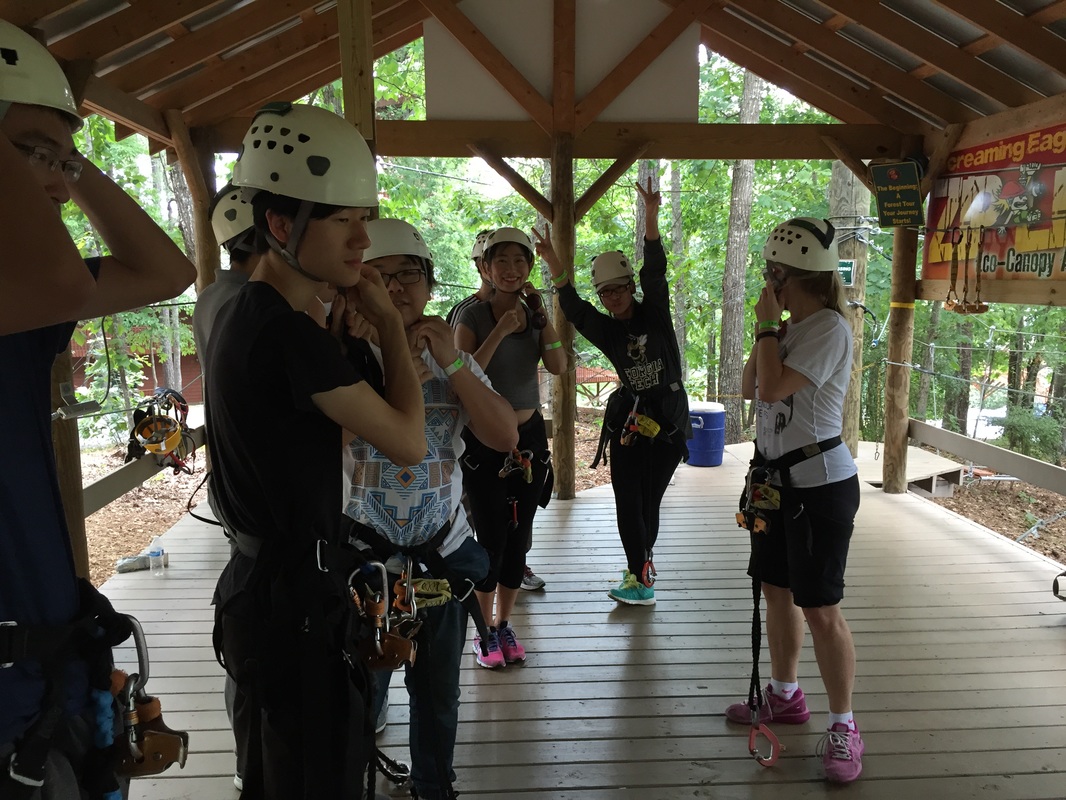
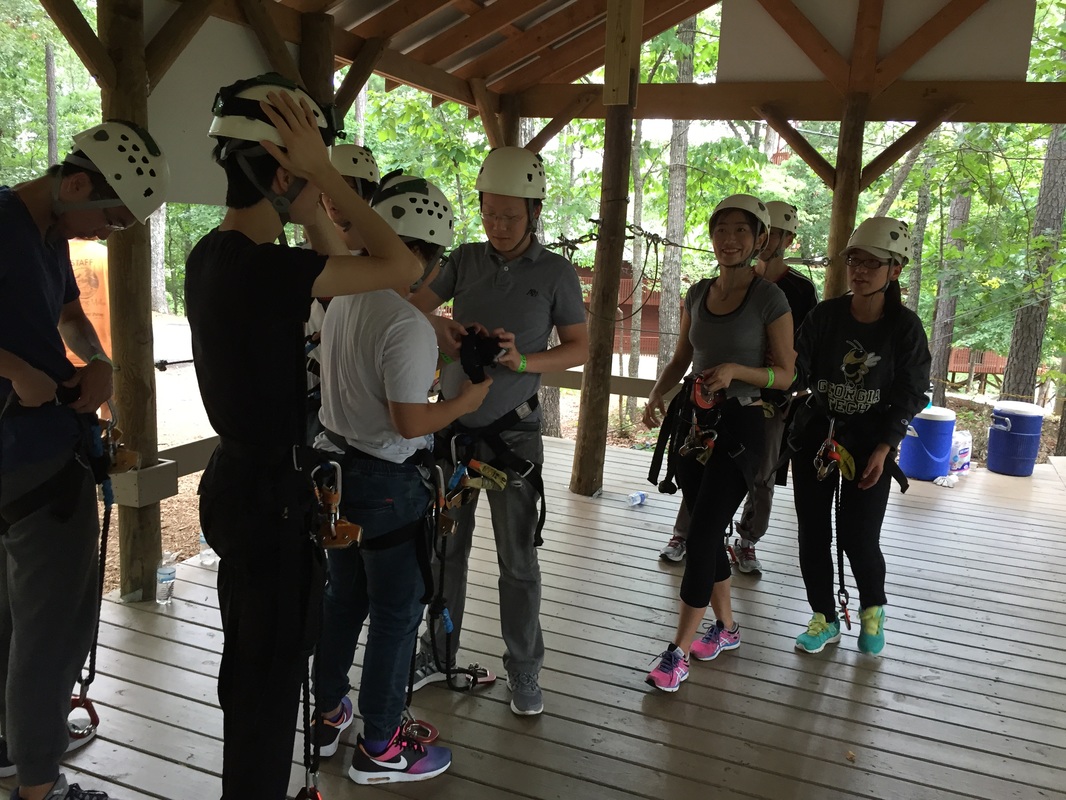
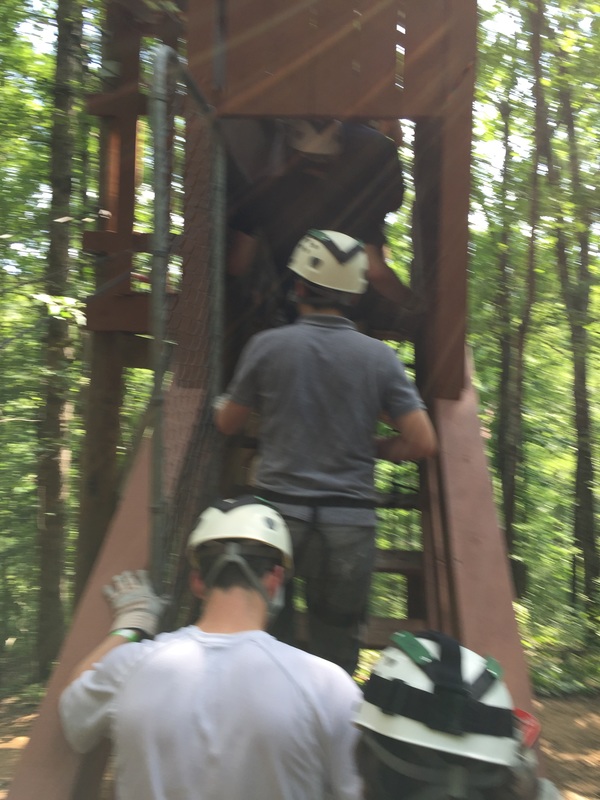
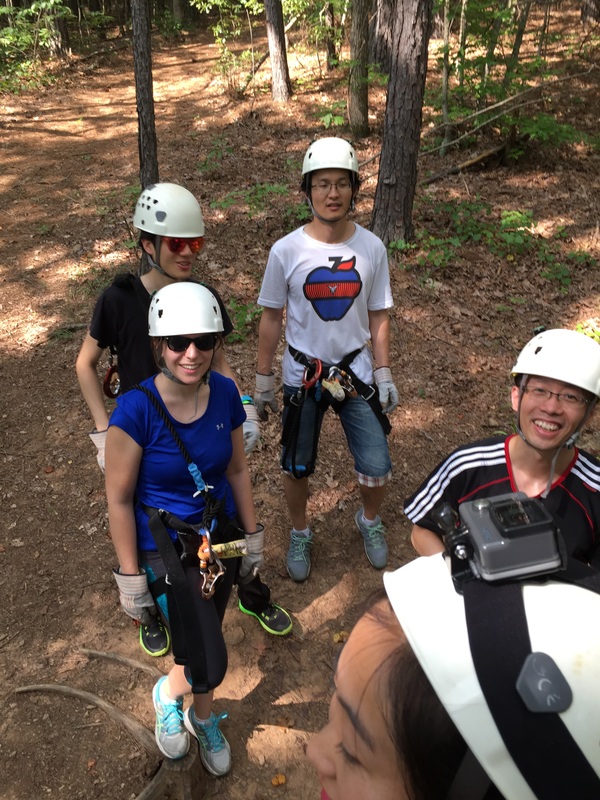
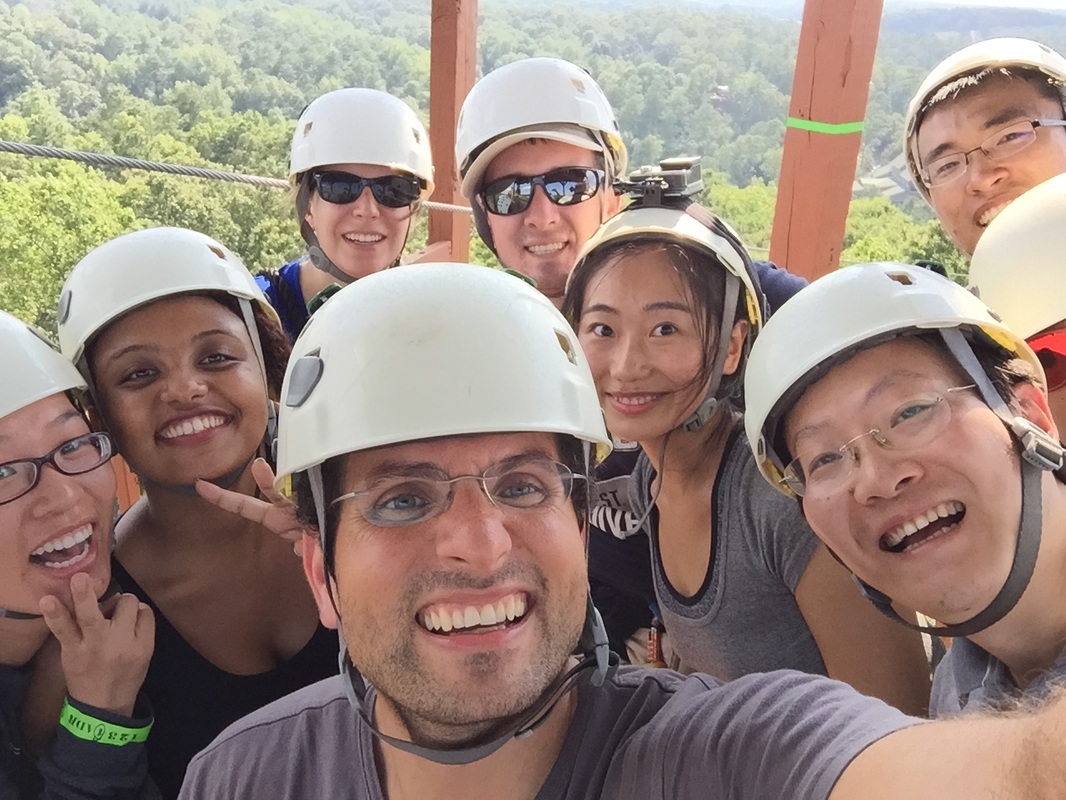
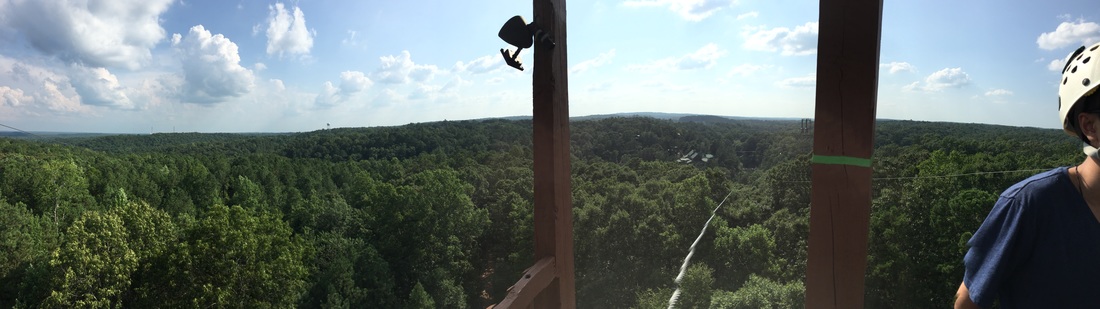
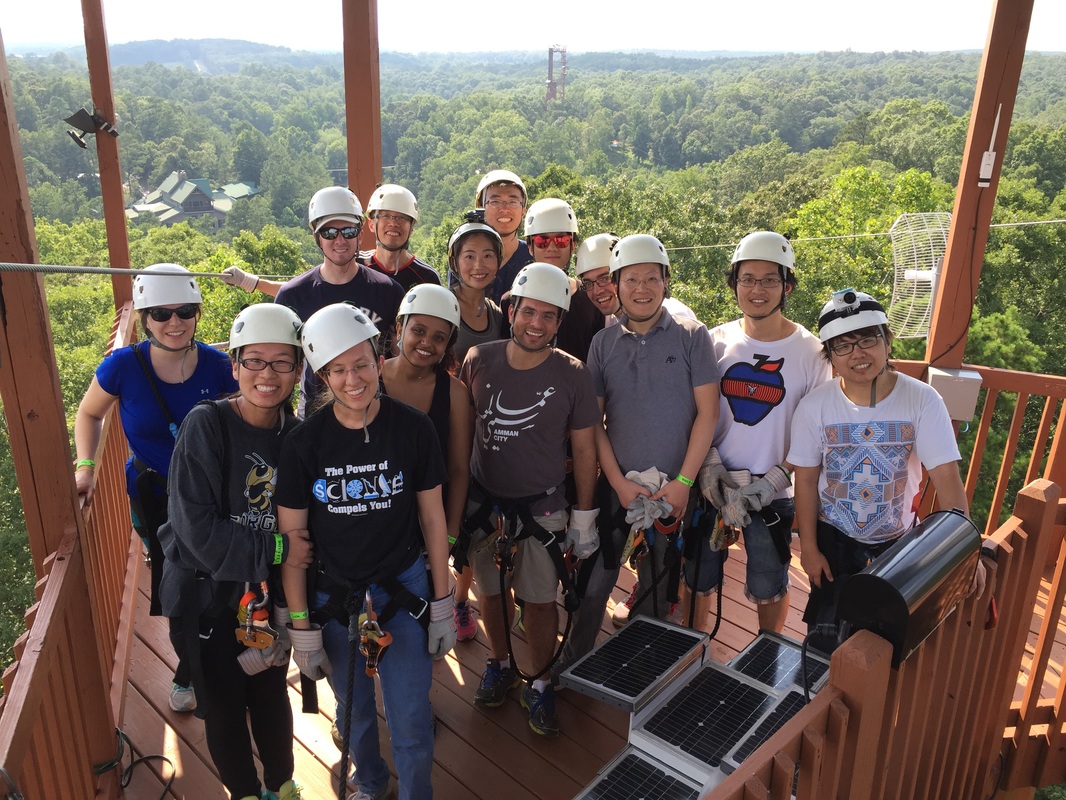
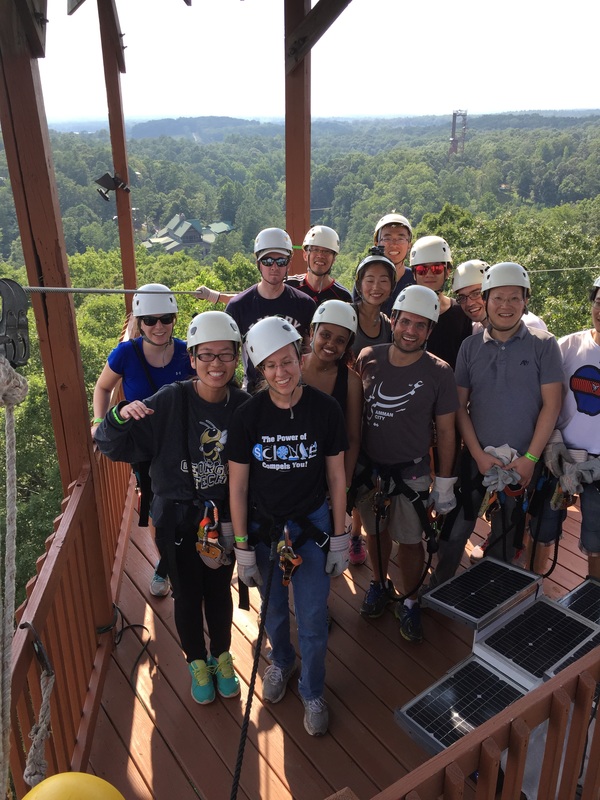
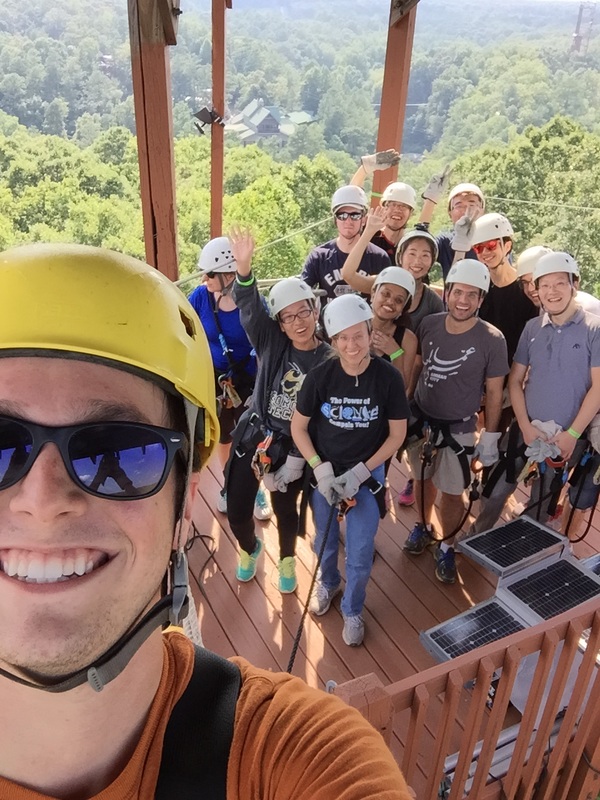
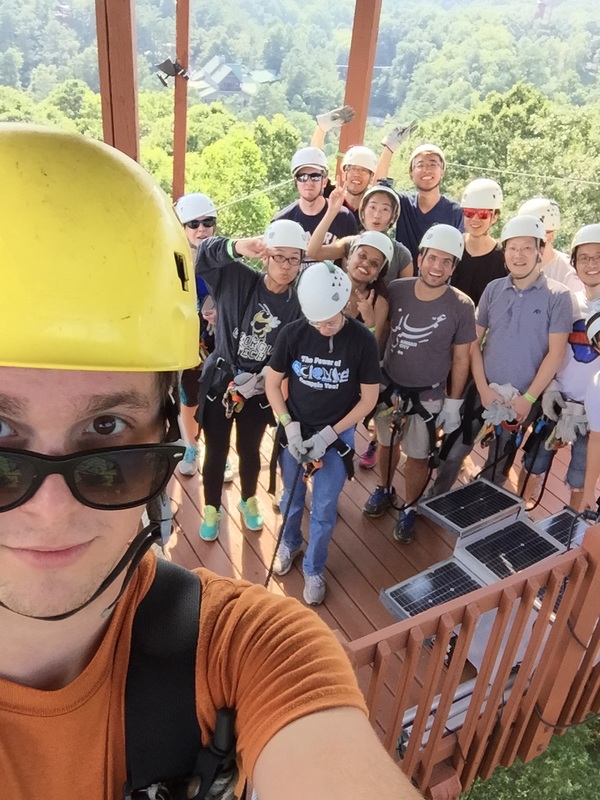
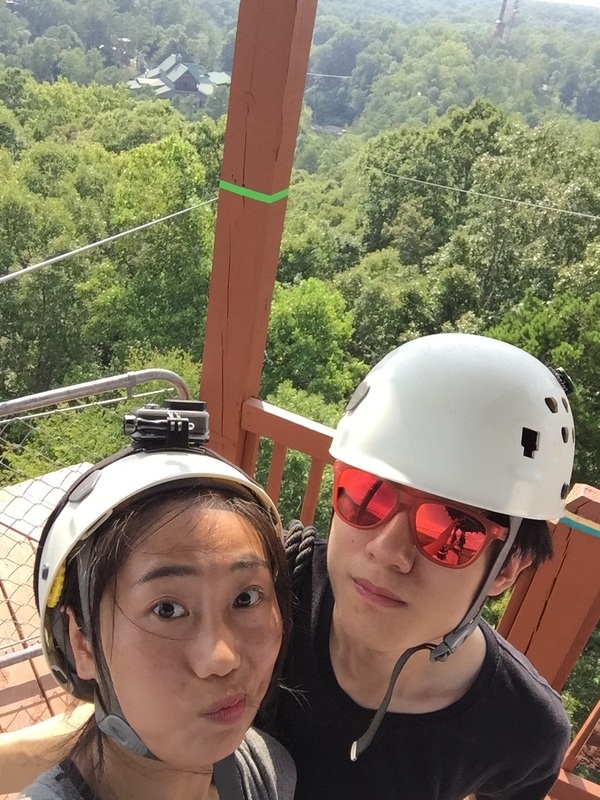
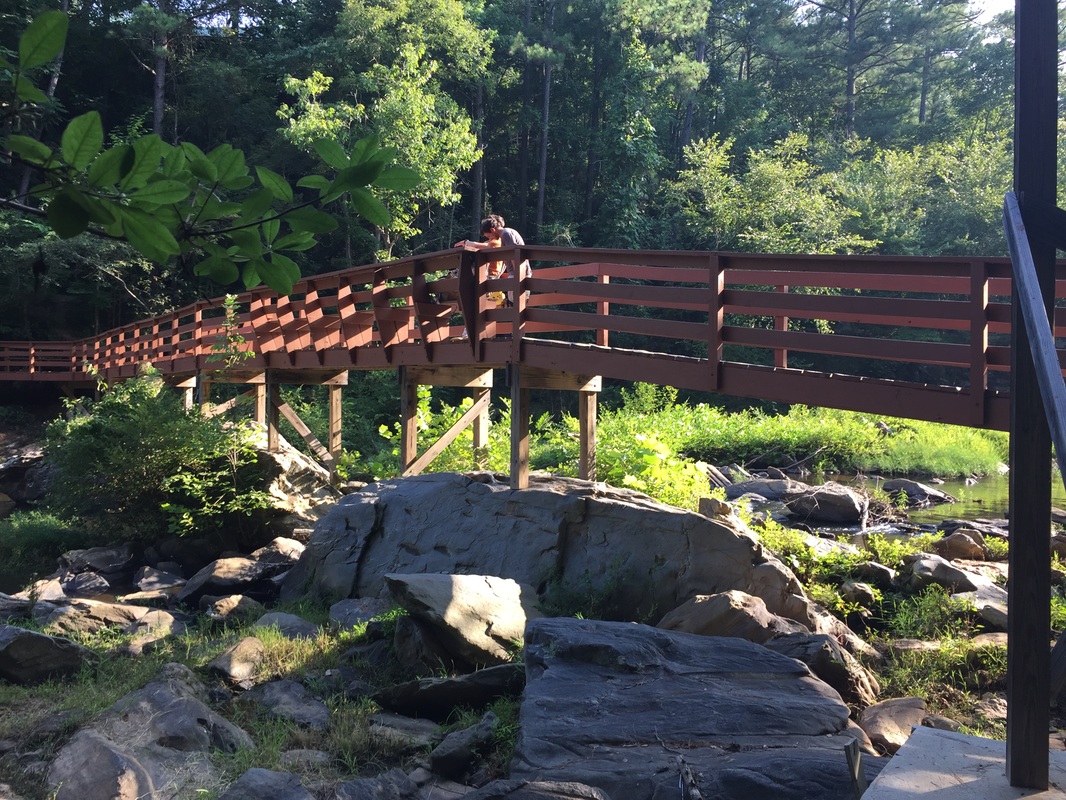
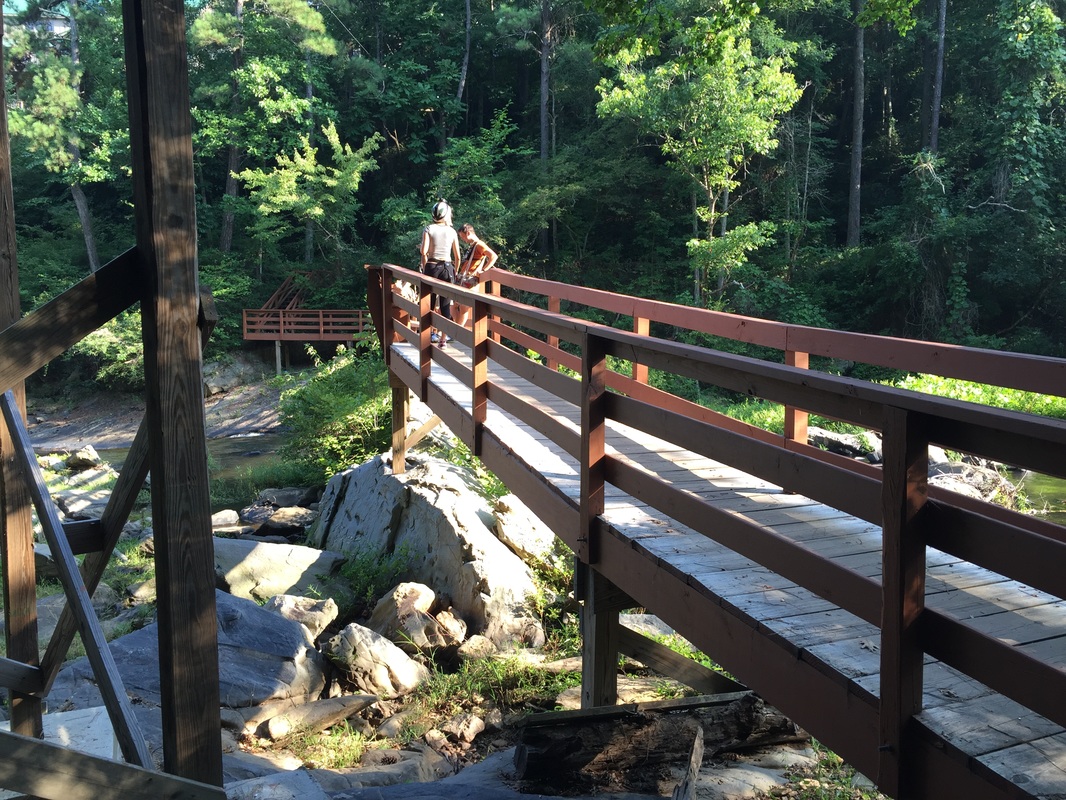
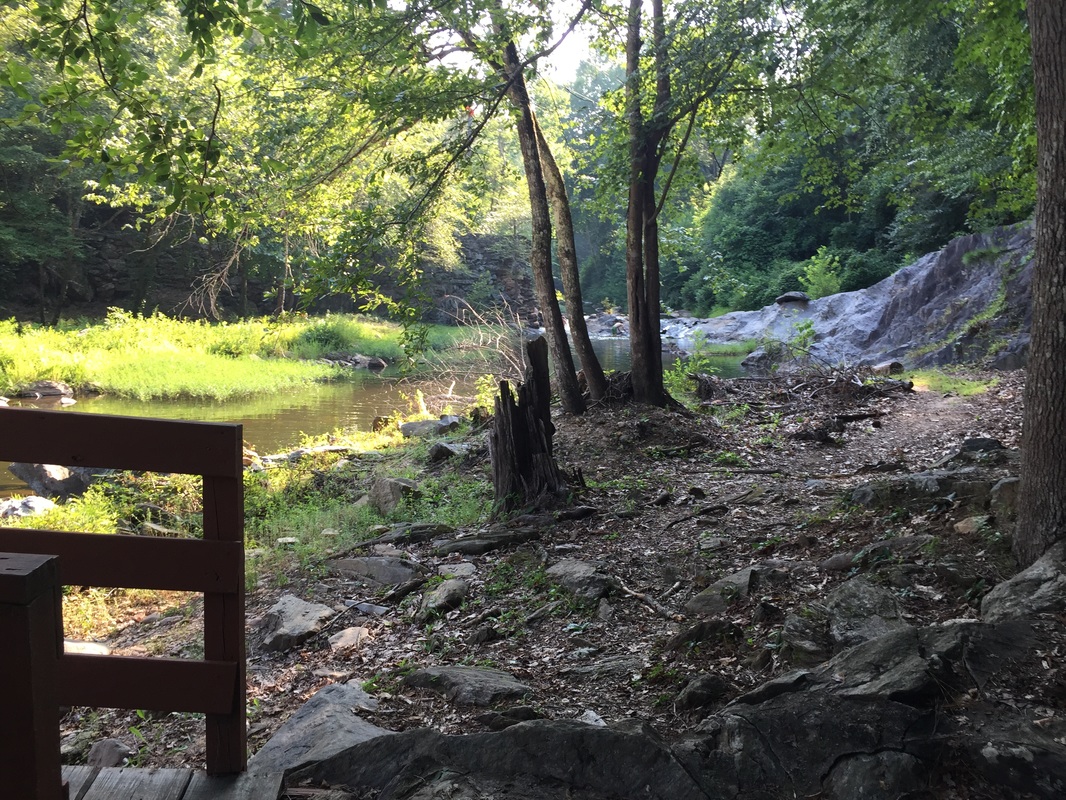
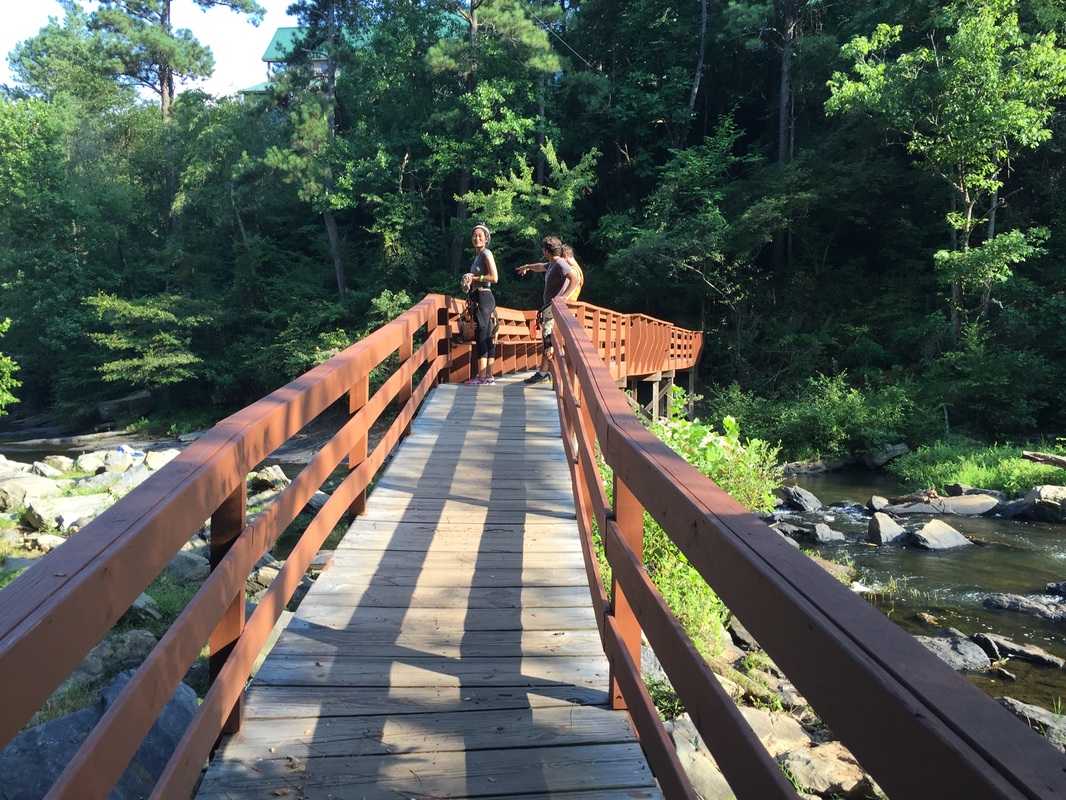
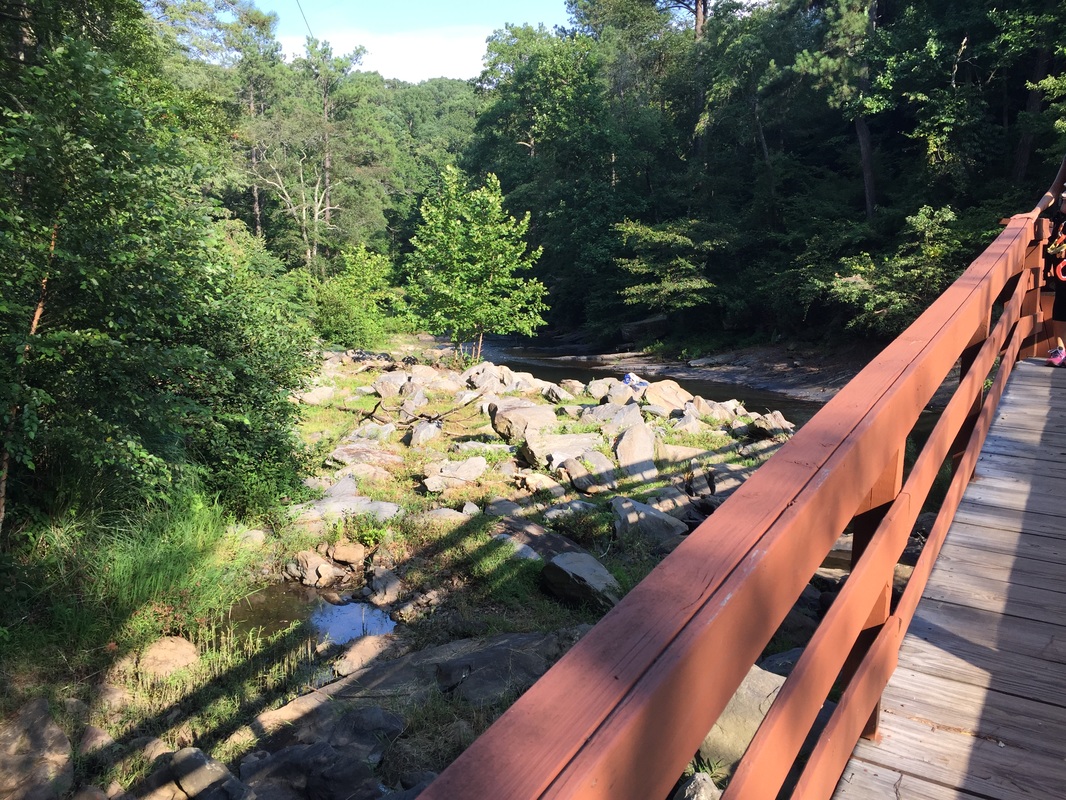
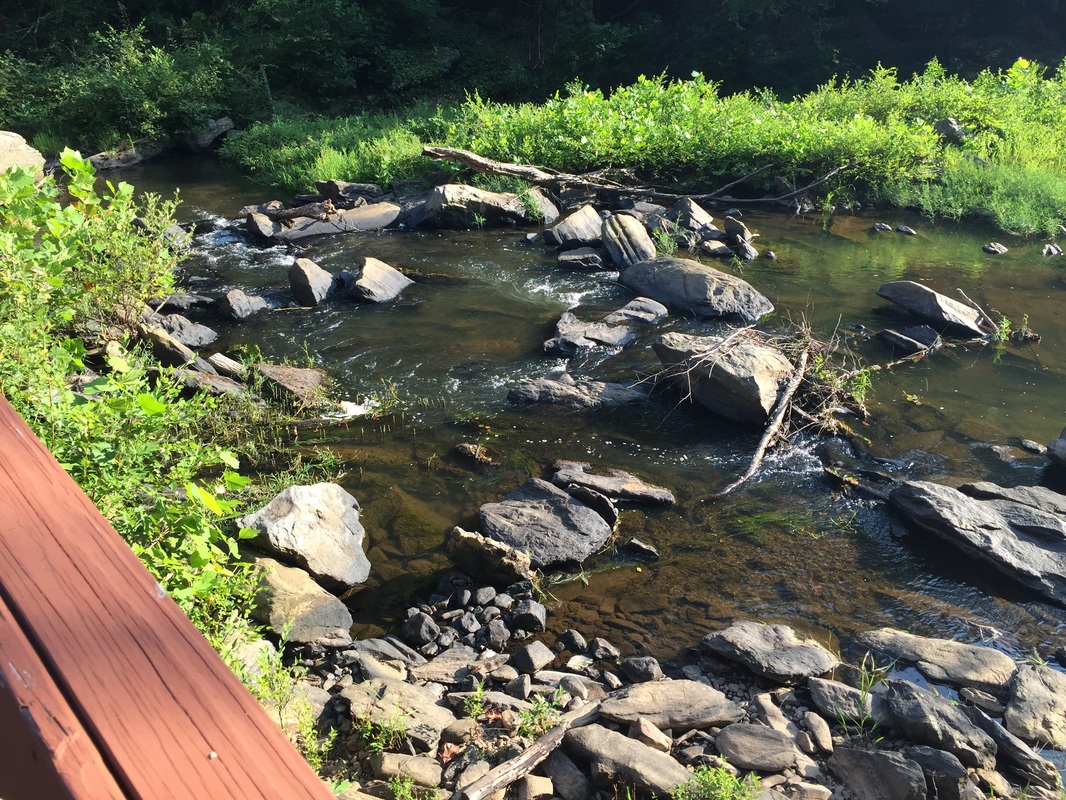
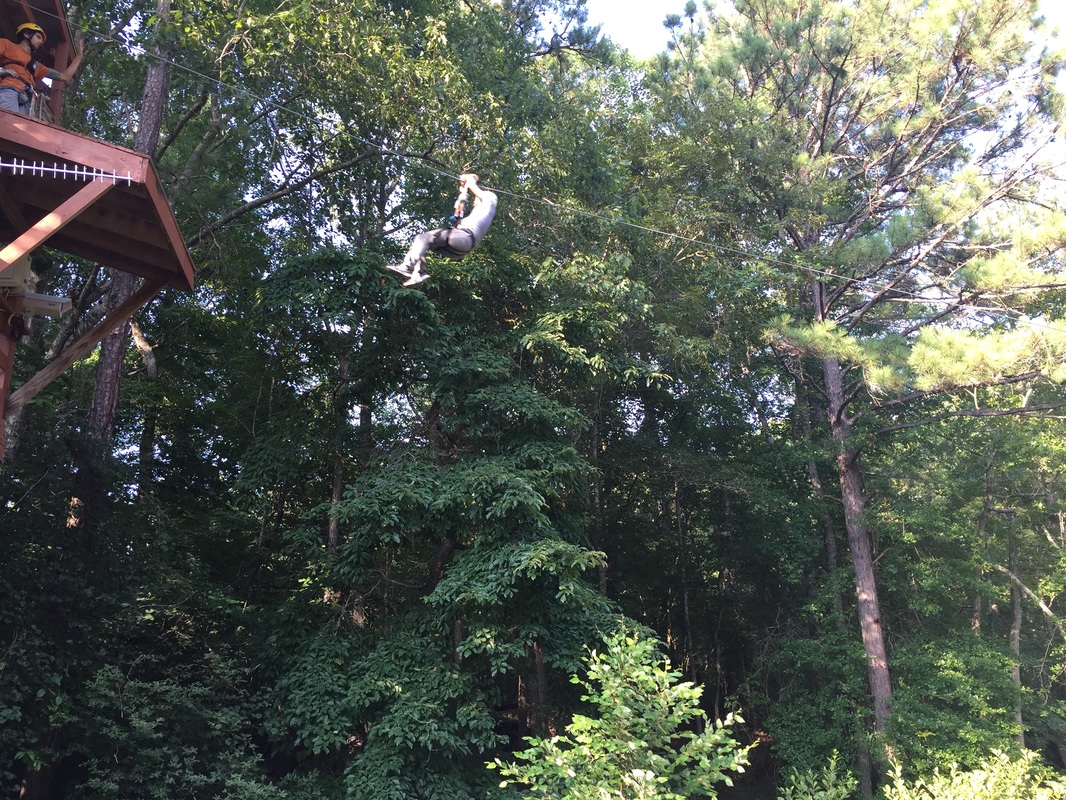
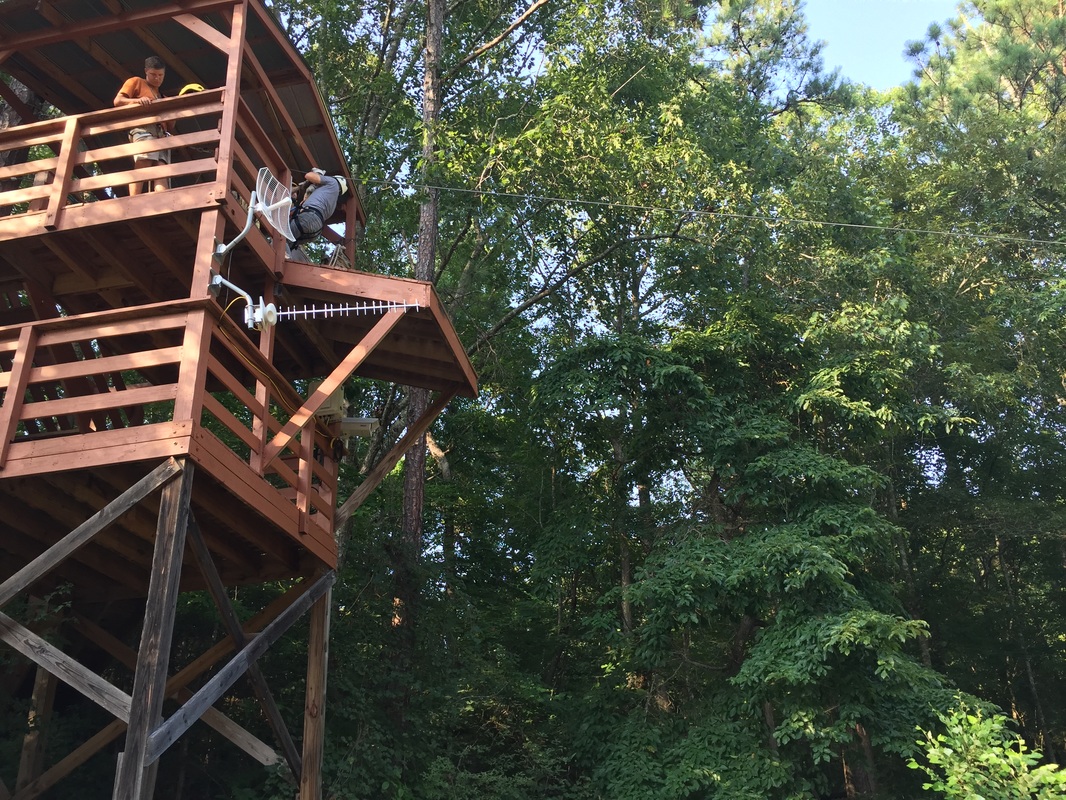
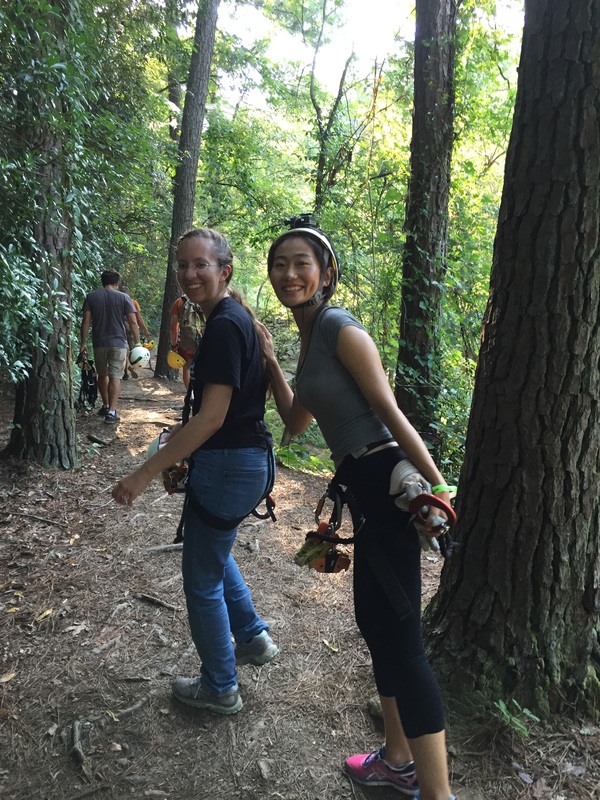
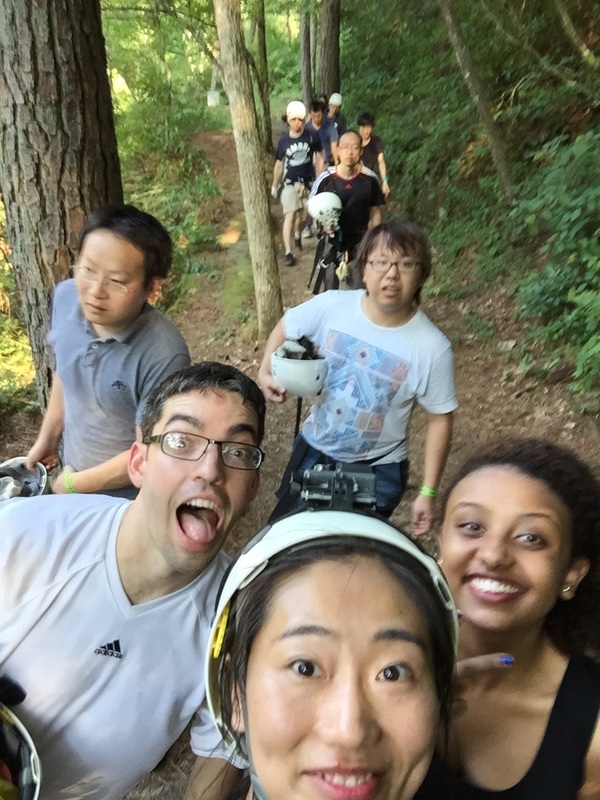
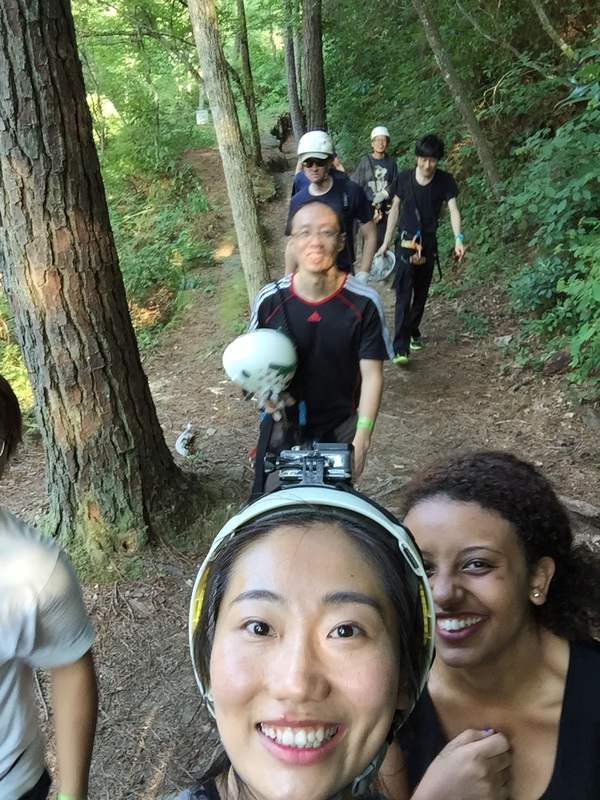
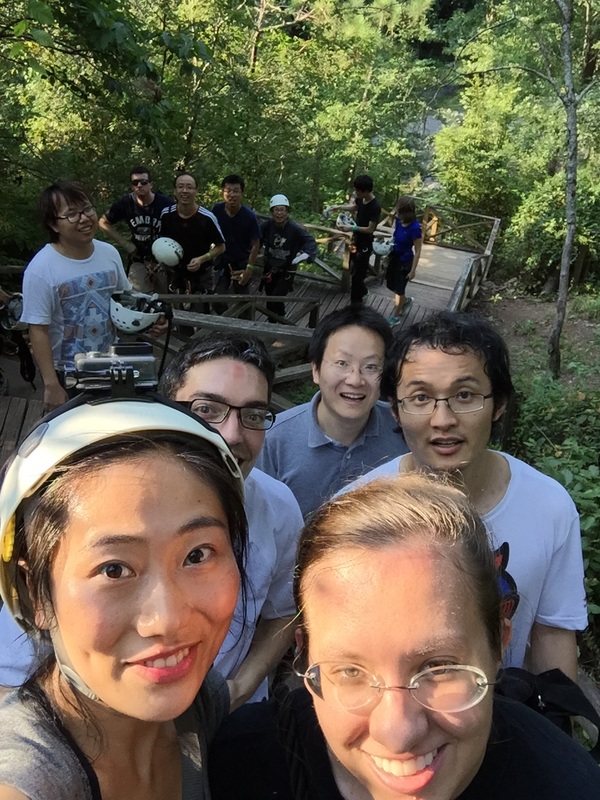
This post has been long in coming. On July 31st, our whole lab went ziplining from 2 pm until 6 pm! Four hours! We went through difficulty levels 1 - 4 of historic banning mills - the longest zipline tour in the world! The level 4 was intense. I am deathly afraid of heights and it was only with the constant love and support of my labmates that I was able to make it through all this. I'm glad I did it. I feel like I conquerored a giant. Enjoy the photos! My
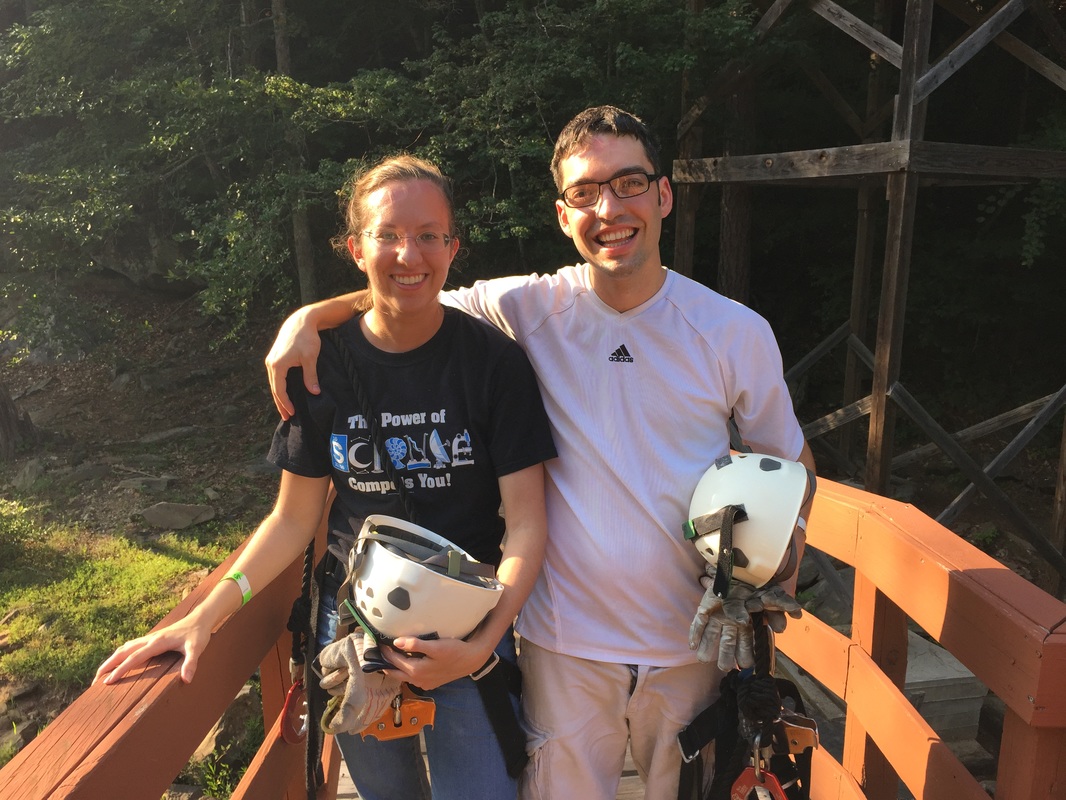
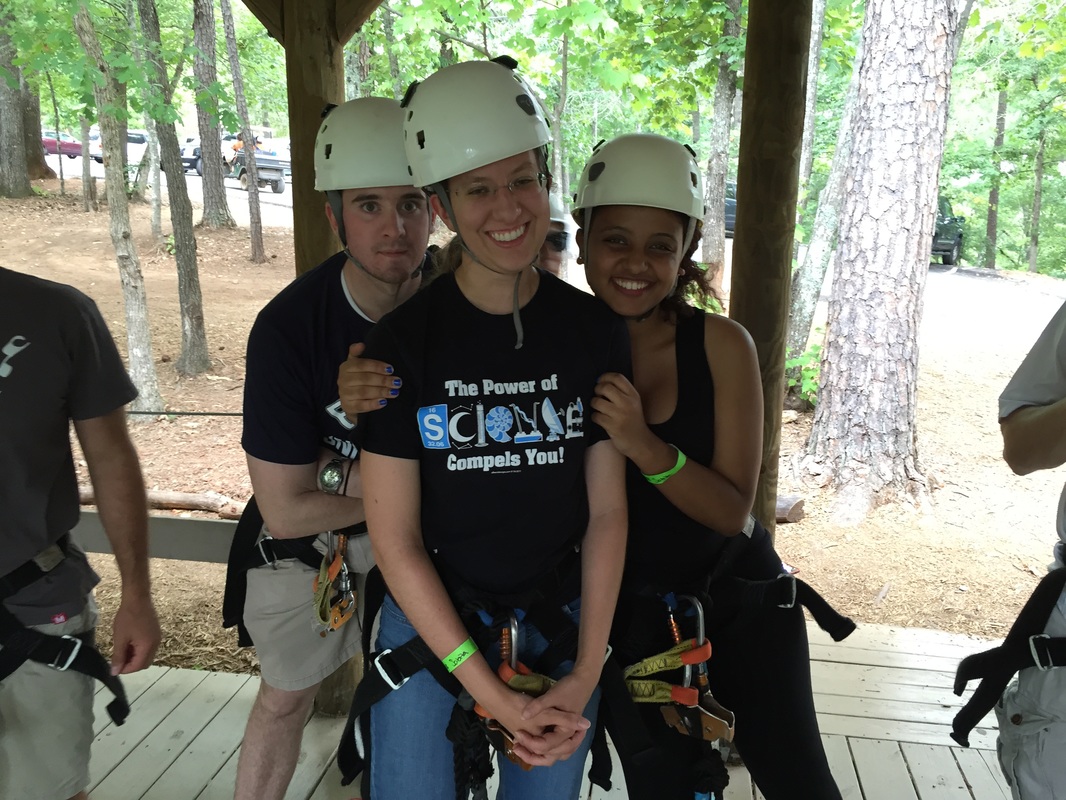
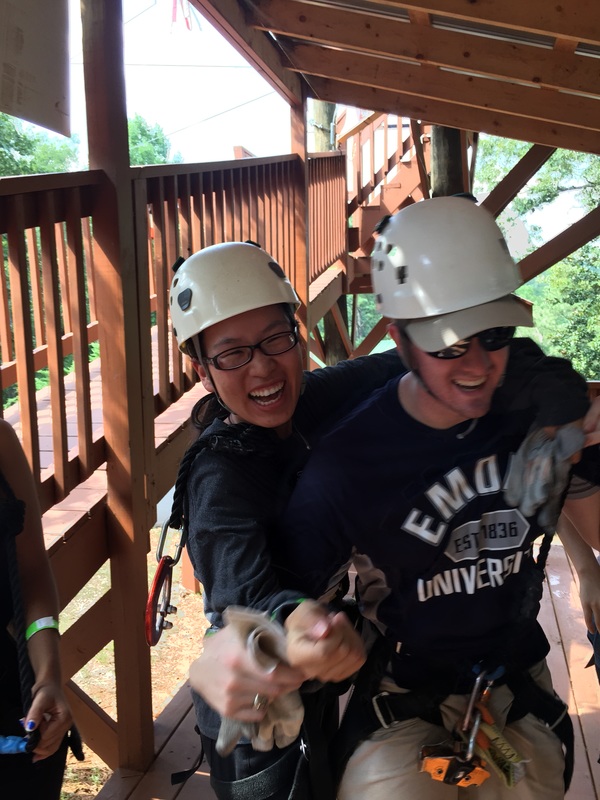
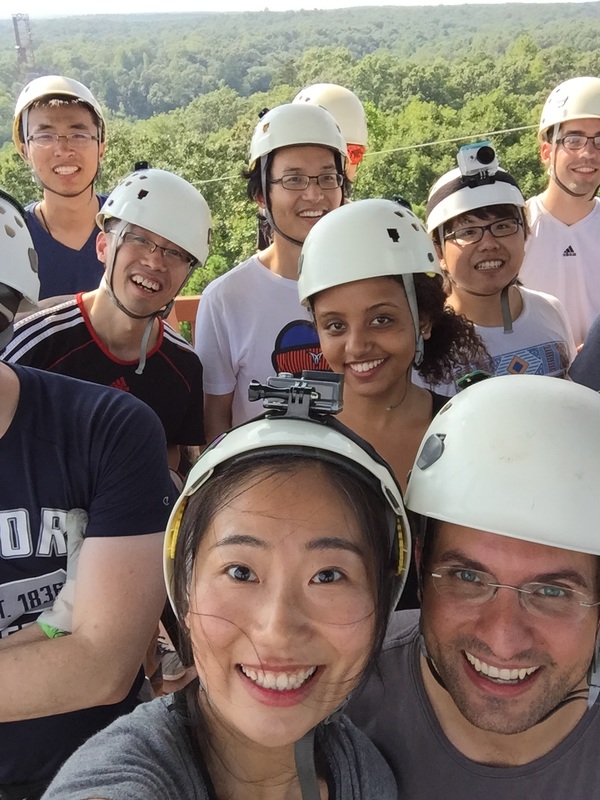
My mentor Kevin Yehl and I! I love this shot.
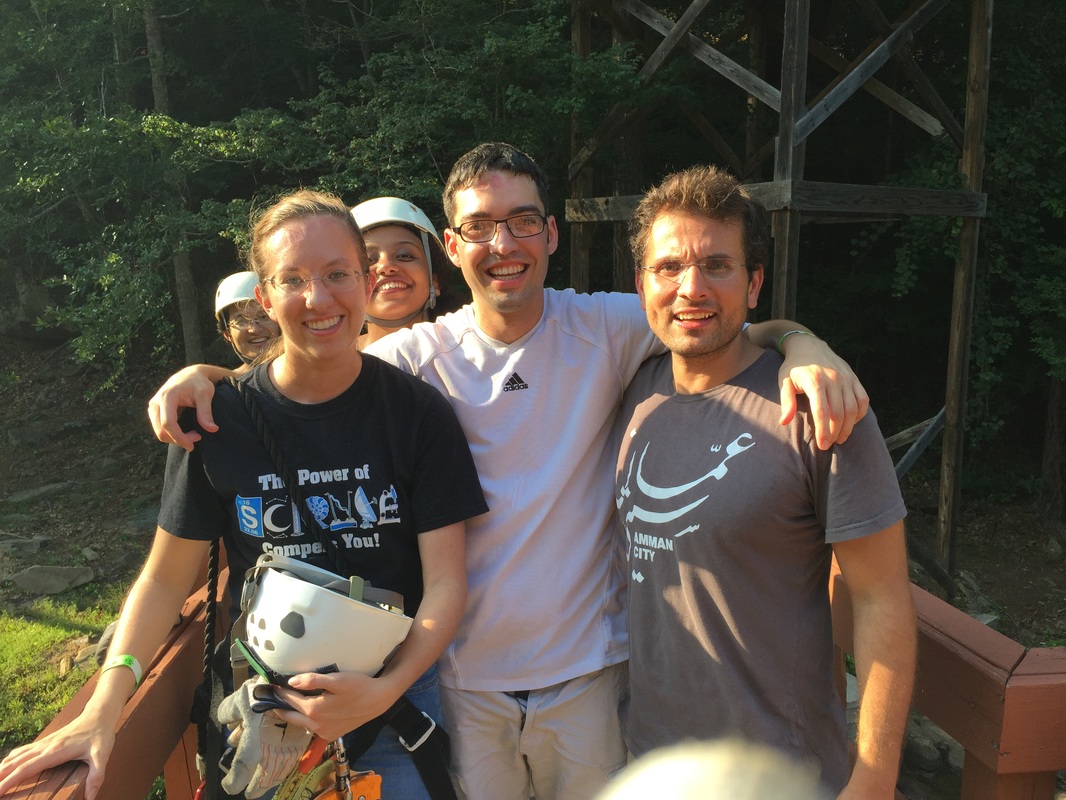
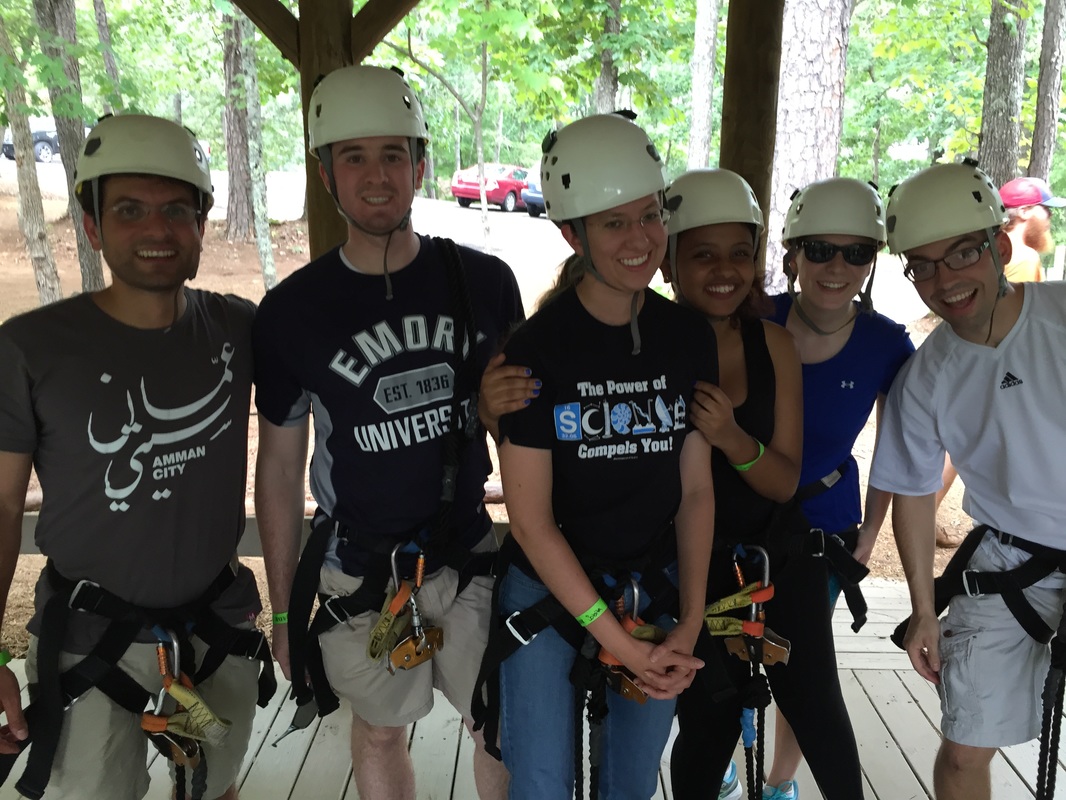
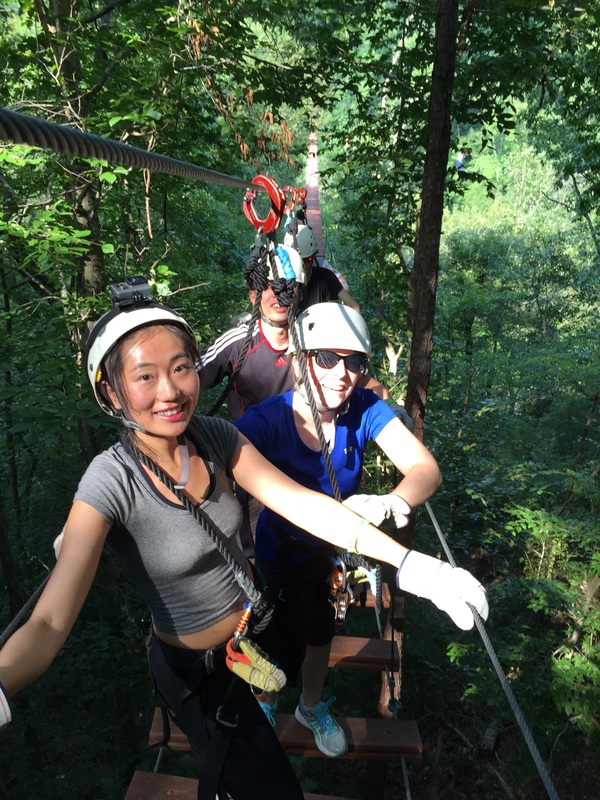
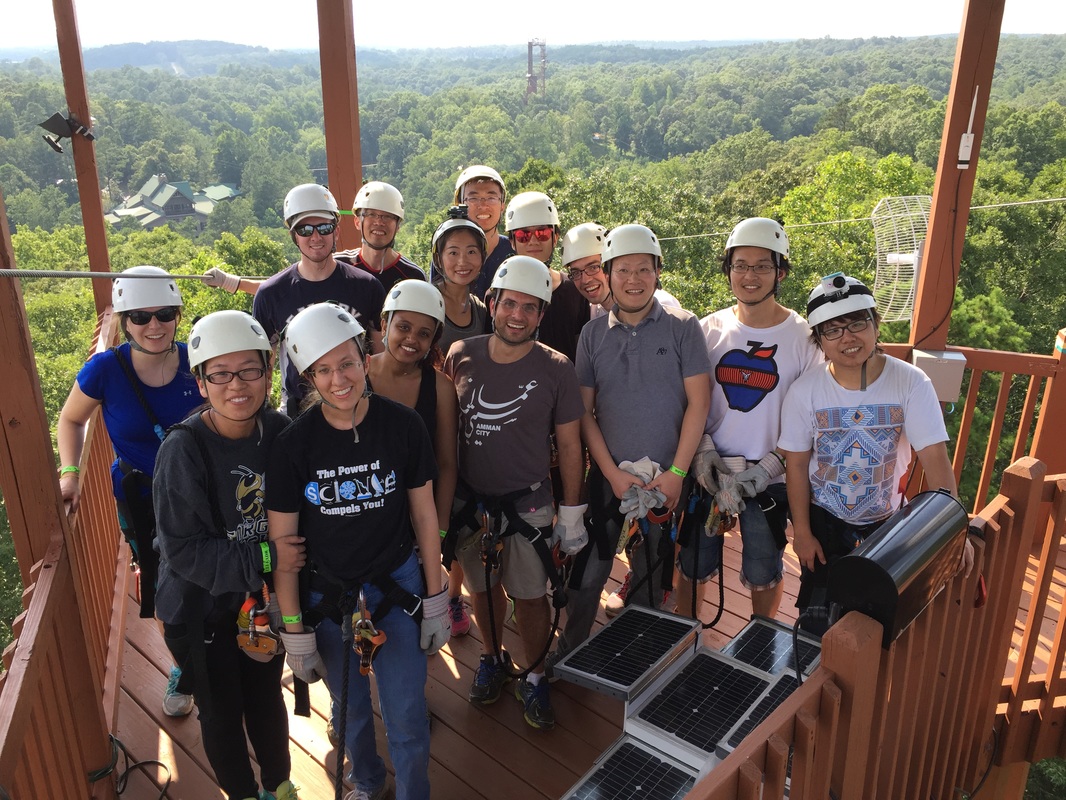
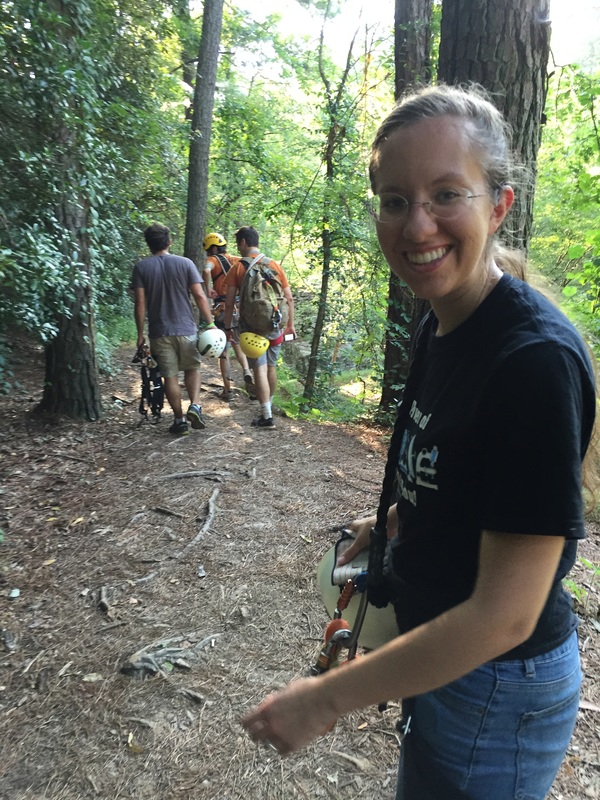
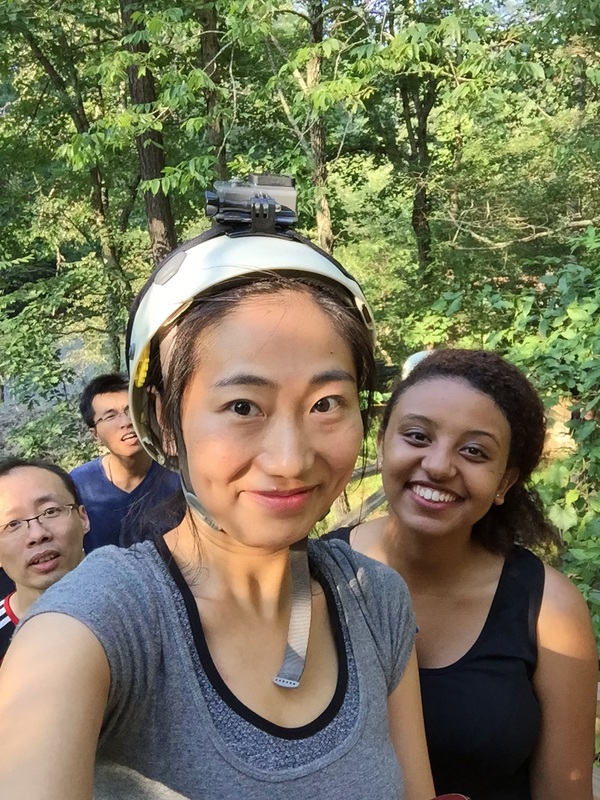
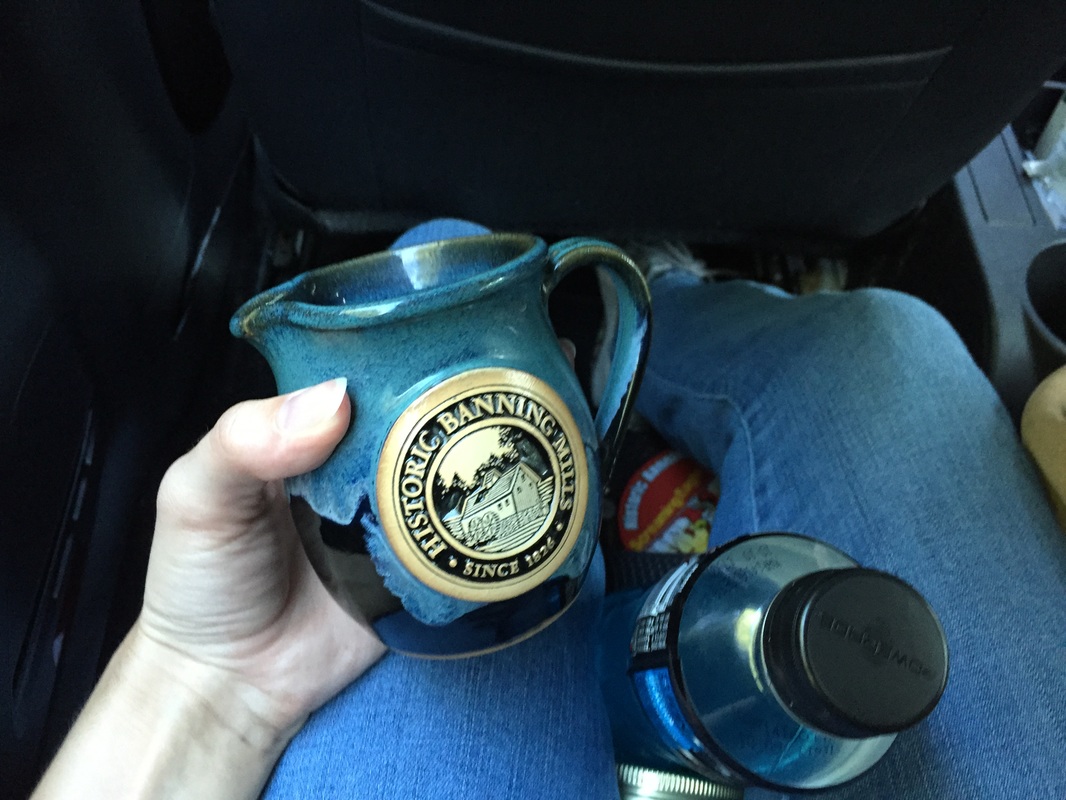
My mentor Kevin Yehl and my boss - two of my favorite people in the world.


 RSS Feed
